Wednesday, May 22, 2013

San Rafael Swell Utah Part 3 (Crack Canyon)


San Rafael Swell Utah Part 3 (Crack Canyon)


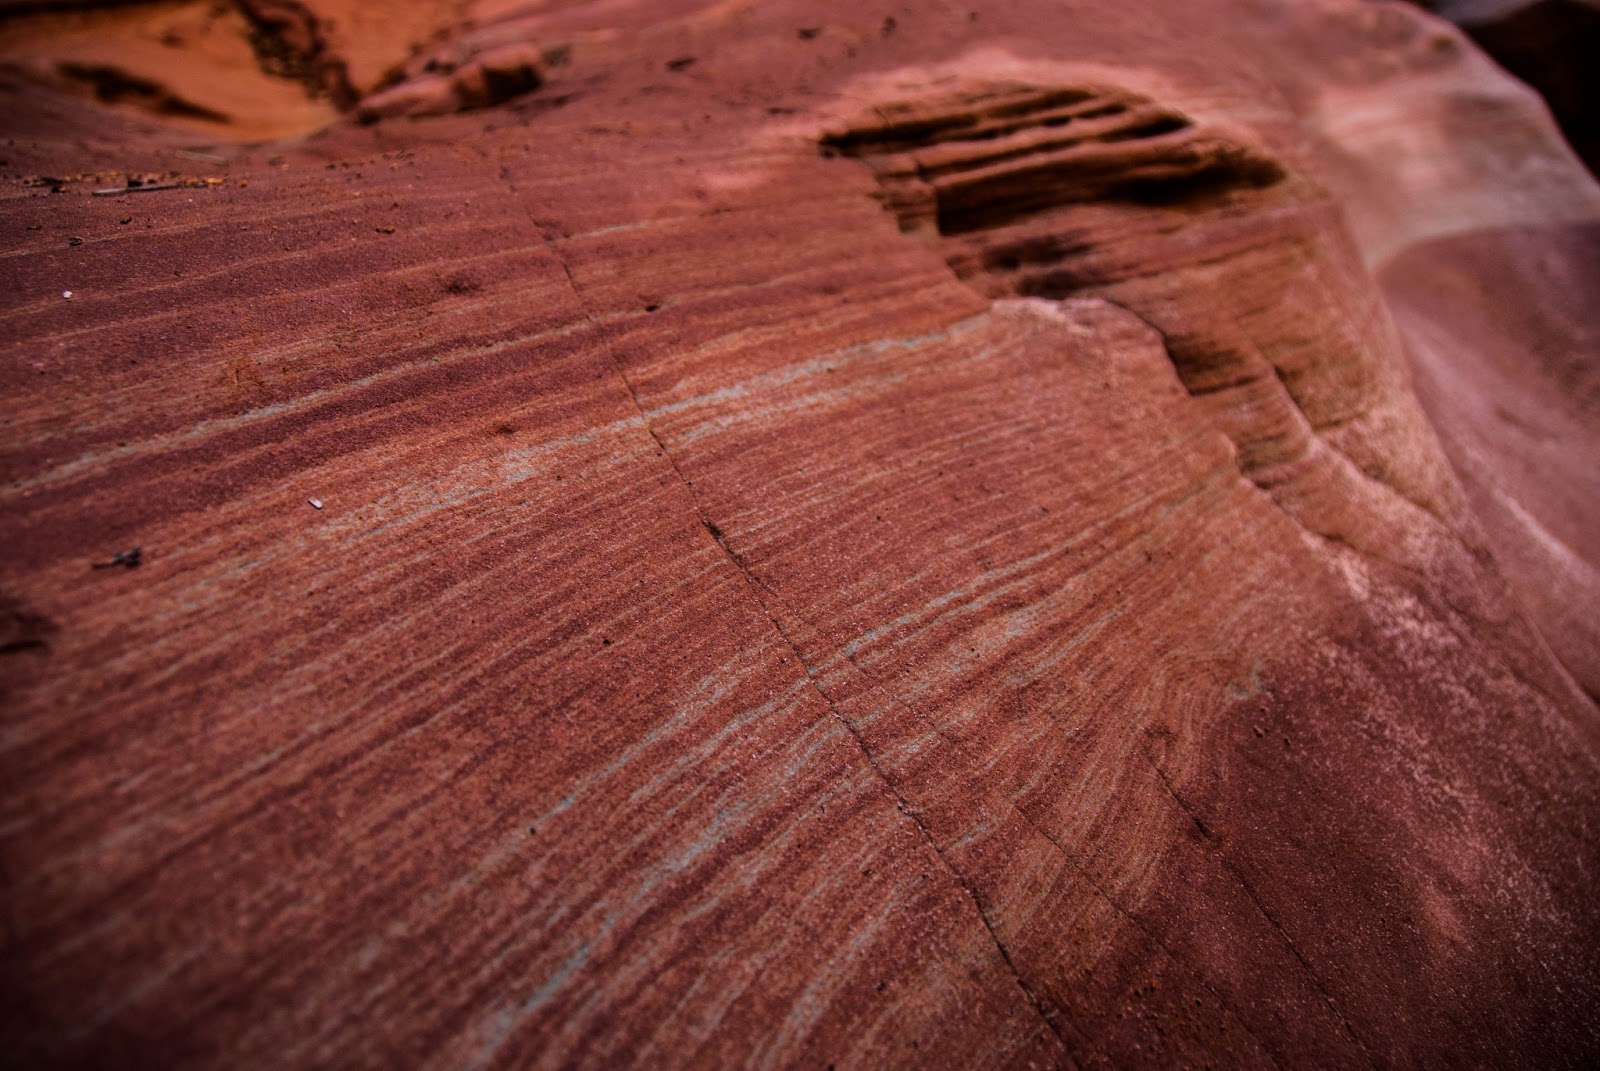
First off you will want to have an OHV (off highway vehicle) or plan on a lot of extra walking. The last mile or so of road (if you can call it that) is really just an old river bed.  There isn't really too much that is really big but definitely not for cars that have low clearance. There are a few steep parts where 4wd would come in handy as well.  


Once you get to the canyon itself it is quite impressive.  It isn't too narrow at first but as you get into it deeper then you get more of the "slot canyon" feel.  There are a few obstacles that you will have to maneuver in order to continue.  The further you go in the more difficult they get so plan accordingly. 


There were also some sections of the canyon that, depending on the time of year, will have as much as a few feet of water along the bottom.  They can be maneuvered without getting wet but it is tricky.


Monday, April 1, 2013

San Rafael Swell Part 2 (Goblin Valley Area)


Wildhorse window A.K.A the Eye of Sinbad


Wildhorse window is a natural bridge associated with a large window.  You get to the window after about a mile hike off the road that leads into Goblin Valley State Park in Utah.  It is visible from the road but doesn't look nearly as impressive as it does when you get up close.  The trail is somewhat difficult to find and also to follow although it is marked by a series of stacks of rocks that past hikers have left.  There are a few different sites that have descriptions of the trail and how to find the window.  The site I used was http://www.utah.com/hike/wild-horse-window-trail.  Someone had used the rocks marking the trail head to make a fire pit but we destroyed the fire pit and rebuilt the marker.  


At first we didn't even see these but they are on the right hand side of the cave (when entering in)


There wasn't really a train up to where we wanted to go but we just navigated our way up and around and it was well worth the time we took to get there


This is the view from the cavern next to the main window


There are some minor obstacles on the way there and back.  The water will likely be gone in early summer but if you go before then be sure to wear shoes you don't mind getting wet.  Or just take the time and effort to navigate around the pools.  There are also a few sheer drop-offs along the trail so be sure to be careful as you hike to and from the window.


Monday, March 18, 2013

San Rafael Swell Utah Part 1


First Stop: The Wedge Overlook
The Wedge is also referred to as the little Grand Canyon of Utah.  It really comes up out of nowhere when you are driving to it.  It is a relatively short distance from the city of Castledale.  You take a unmarked road just north of town and then in a while you will find signs for the wedge and other attractions.  


MK Tunnels and Buckhorn Wash Campground


Indian Rock Art Right in the Campground


The Buckhorn Wash Pictograph Panel


Leaving Buckhorn Wash Area


Friday, February 15, 2013

Bridal Veil Falls - Provo Canyon

****WARNING*****
Do not attempt to make this hike unless:

1.  You are in good physical condition
     2.  You have experience with rock climbing and scrambling
     3.  You have other people with you
     4.  There are good weather conditions


The Falls


Bridal Veil Falls is a highly visited area of the Provo Canyon in Central Utah. It attracts many visitors passing through the canyon and is a great recreational place for locals and tourists alike.  There are many parks in the canyon as well as a well-maintained bike path through the canyon.  There are many activities that you can do while in the canyon.  Some very leisurely and others that will give the thrill seekers a memorable experience.  The Hike to Bridal Veil Falls Restaurant is one of the later.


The restaurant has been abandoned for years.  There used to be a tram that would carry visitors up to the building.  It claimed the title as the worlds steepest tram but an avalanche in 1996 ended its years of operation.  Since then the structure has been abandoned but visited by a few determined hikers.  

There were plans to return the restaurant to working order but in 2008 there was a fire that sealed the fate of the used to be Eagles Nest Lodge.   After the fire the cables for the tram were cut and the hollowed out structure remains.

There is an old maintenance trail that leads from the base of the falls up to the restaurant it is NOT maintained and is a strenuous hike.  


These Images are from before the fire


BEFORE VS AFTER THE FIRE


These images are from after the fire


The Trail

This picture was taken when i was on a black hawk helicopter flying up the canyon.  It shows the trail from a better view.  It was taken years ago and I didn't think to get a shot with the lodge in it but it should help!


This is what the trail will look like while standing at the base of the falls


There are a few steel cables left but it will be a good idea to bring rope.  The rope up there needs replacing yearly due to the heavy snow and ice wearing on it all winter.  You may need one adventurous and experienced person in your group to climb up without rope to hold onto, tie down the rope, and throw it down to the rest of those in the group.


As you can see there are some VERY steep and sheer parts of the trail.


Once you get to the top of the falls it takes a little trail finding skill to find the turn off to head up the side of the mountain.  If you go too far up you will end above the restaurant and it is not easy to get back down.  If you don't go far enough up before turning right then you will find yourself at a dead end.  
(yes I have been in both situations)

Keep an eye out for another thin metal cable heading up the mountain on your right... it might take some time and trial and error depending on the shrub cover. I tried to draw it as accurately as i could on the firs picture of this section.  


Good luck, have fun, and be safe!

If you have any questions, comments, or suggestions about the hike leave a comment below

Here is a link to some more pictures on my brothers blog DBOBIKE:


Monday, February 11, 2013

The Value of a PRIME

The Value of a 50mm PRIME

First off... What is a prime? 

I wont get into technical definitions; so simply put a prime lens is a lens with a set focal length.  There are pros and cons to any lens, but "cons" could also be considered to be good things by some. I do not know every prime lens out there but from the ones I am familiar with here is a quick list of pros and cons.  

Pros:
     1. Usually have a shallow depth of field (large aperature)
     2. VERY Sharp Pictures
     3. Well built
     4. Fast focusing
     5. Price vs zoom lenses is low

Cons:
     1. You have to move to change the framing of your subject

Pros:

1. Shallow Depth of Field 

Camera: Nikon D80
Lens: Nikkor 50mm 1.8g
Aperture: f1.8
Shutter Speed: 1/640

As you can see the small aperture that is commonly found with prime lenses creates a very small area of focus that can allow you to be creative with your pictures.  A 50mm prime lens is also Ideal for portraits especially when you are not using a full frame DSLR.

Camera: Nikon D80
Lens: Nikkor 50mm 1.8g
Aperture:  f1.8
Shutter Speed: 1/1250
2.  VERY Sharp Pictures

A prime lens has simple but high quality "glass."  Zoom lenses will have a "sweet spot" where they are sharpest and then the rest isn't as good of quality.  A prime lens is a "sweet spot" in and of itself.  It is sharp and it is easy to get those sharp photos that you are hoping for.  You can see in the picture how crisp the details are in her eyes.

Camera: Nikon D80
Lens: Nikkor 50mm 1.8g
Aperture:  f2.2
Shutter Speed: 1/400


3.  Well Built

Because there are less moving parts (and on most modern primes all the moving arts are internal) the lenses are naturally more secure than a zoom lens.  If any of you have owned a zoom lens over a long period of time you will be able to notice that they can "relax" over time and not feel as solidly built.

4.  Fast Focusing

This will of course depend on the lens itself but for me I have noticed that Prime lenses are super quick when it comes to focusing.  They are simply built and therefore preform well.  Also, because of the large aperture (small f-stop) a prime lens will have an easier time capturing light, and because of that will still focus quickly in low lit situations.  

5.  Price

The price of a 50mm prime is very low when compared to the world of lenses.  However some of the other primes can get more expensive. For example I bought my 50mm 1.8 for $220 but a 85mm 1.4 Professional Lens runs at $1700. A 50 mm on a DX camera (not full frame) is a great option for those who don't have thousands of extra dollars but still want great results!


CONS:

1.  You have to move to frame your subjects

Camera: Nikon D80
Lens: Nikkor 50mm 1.8g
Aperture:  f2.5
Shutter Speed: 1/320

For this shot it would have been easier if I had my zoom lens and could have stayed on the trail to take the picture.  However, I wanted to use the shallow depth of field so I set my camera on the settings I wanted, and left the trail, moving closer hoping not to scare off the squirrel.  This is an inconvenience but it allowed me to get the feel I was looking for and gave me a fun experience.  Using the prime forced me to think about my shot rather than just simply stopping clicking the button and moving on (as you see so many people doing).  So although it is a con, moving to frame your subject can keep you creative and innovative with your photography.  

In Conclusion:

My recommendation for every Photographer of any skill level would be that they have a 50mm prime in their kit.